Snip Snip.
Ever since
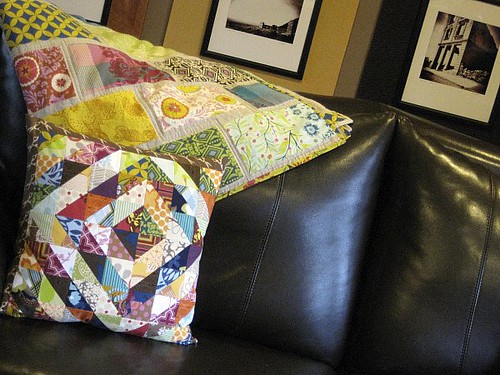
the day inspiration struck, I've had it on my mind to try my hand at values. I thought I might make a twin bed quilt for Liam in this style, but I'm glad I tried it small-scale first. Not that I'm dissatisfied, just that a pillow really did meet my "need". Pillow covers are so good like that. And, hey, they don't need binding!

Oh, guess, what? This time I put in the invisible zipper without even glancing at directions. I know.... isn't that positively shocking. This was my 3rd invisible zipper into a pillow and it went in without a single naughty stitch. I told Brandon I should apparently write tutorials for all the techniques that scare me - cause you can't help but learn if you teach! Oh, is that backwards? blush.

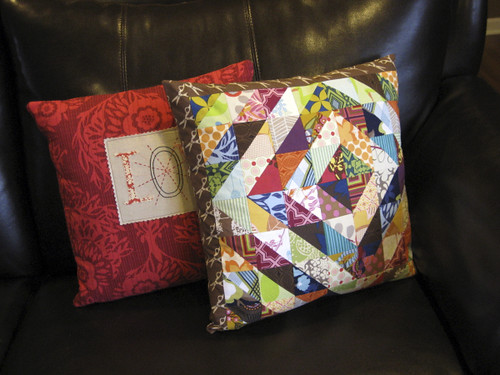
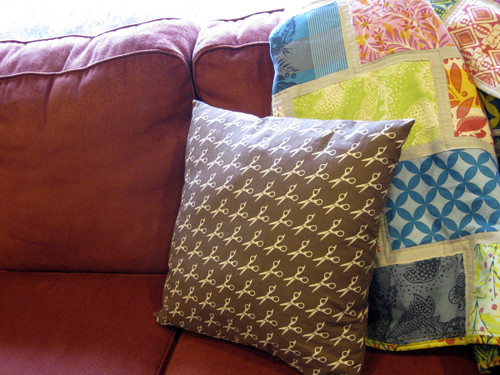
And this baby did use nearly all of my medium-sized scraps. Woohoo! After piecing together the values pattern I found it was a hair short for my pillow form. I dug out this Wonderland Snip Snip in Chai that I stashed ages ago to frame the front and back the pillow as well. And, maybe I'm a dork, but I felt that the scissors couldn't be more perfect for this scrappy, quilty, kind of fussy design. It suits.

My bonafide quilt-hating (otherwise awesome) husband likes the back better. He thinks that bugs me, but I really like the back too.
In case you want to know, this pillow cover finished at about 18.5". I started with 3" squares and then paired dark and light values to make value-oriented half square triangles. The center of my values design is offset at the top right, as is the Snip Snip frame (it's thicker at the top and left side and thinner at the bottom and right side). You can learn more about making a values quilt and see some examples at my original "Inspiration" post.
Well, hope you like it friends! I've got lots more to show you this week. Is tomorrow really Wednesday already? Yikes!

Oh, guess, what? This time I put in the invisible zipper without even glancing at directions. I know.... isn't that positively shocking. This was my 3rd invisible zipper into a pillow and it went in without a single naughty stitch. I told Brandon I should apparently write tutorials for all the techniques that scare me - cause you can't help but learn if you teach! Oh, is that backwards? blush.

And this baby did use nearly all of my medium-sized scraps. Woohoo! After piecing together the values pattern I found it was a hair short for my pillow form. I dug out this Wonderland Snip Snip in Chai that I stashed ages ago to frame the front and back the pillow as well. And, maybe I'm a dork, but I felt that the scissors couldn't be more perfect for this scrappy, quilty, kind of fussy design. It suits.

My bonafide quilt-hating (otherwise awesome) husband likes the back better. He thinks that bugs me, but I really like the back too.
In case you want to know, this pillow cover finished at about 18.5". I started with 3" squares and then paired dark and light values to make value-oriented half square triangles. The center of my values design is offset at the top right, as is the Snip Snip frame (it's thicker at the top and left side and thinner at the bottom and right side). You can learn more about making a values quilt and see some examples at my original "Inspiration" post.
Well, hope you like it friends! I've got lots more to show you this week. Is tomorrow really Wednesday already? Yikes!