Twirly Top tutorial
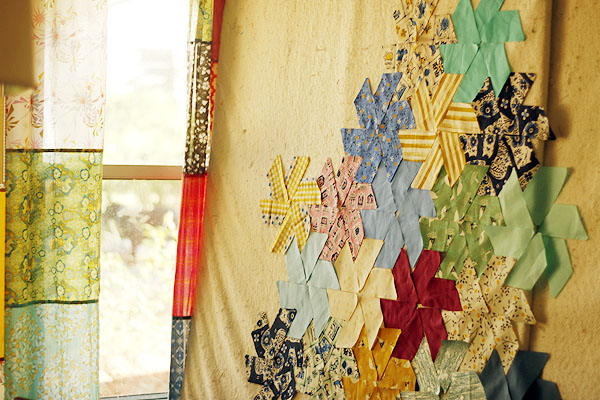
Happy Friday, friends!
Ok, so I take it I got a little too excited about figuring how to machine sew this pattern and may have implied that machine sewing kicks English Paper Piecing in the behind. Which is just silly (but you knew that). I love me some EPP, but not for full sized quilts, just because I like to finish faster than that. But to each her own! Patchwork is really the point, for me. Made from scrap, stash, collection bundles, by machine, by hand, original pattern or making-this-for-the-50th-time... no matter what, patchwork is patchwork. And I love it!
In case you would also like to machine stitch some half-hexagon magic, here's a brief tutorial free for you.
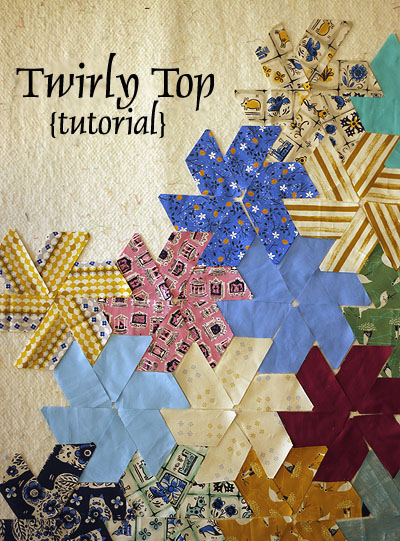
Twirly Top Tutorial
::Supplies::
A fat quarter yields about 5 complete Twirly Tops. About 20 fat quarters for a throw quilt.
::Cutting::
I've cut my half hexagons with the Hex N More ruler. This was my first time using the ruler, so I was glad to finally make use of it! If you enjoy sewing from patterns, there are many patterns based on the ruler, and it is available at lots of quilt shops, including Fat Quarter Shop.
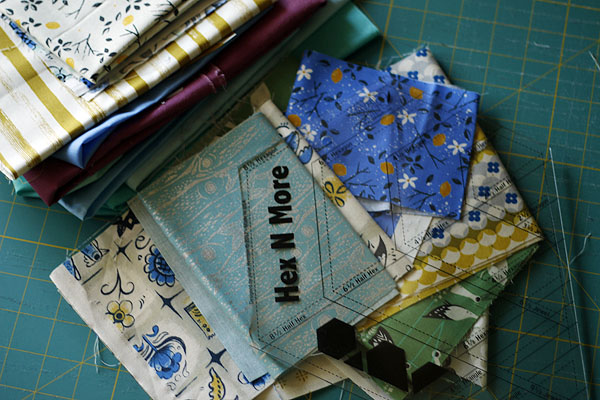
Cut your fabric into 2.5" strips, running the length of your fabric for fabric economy.
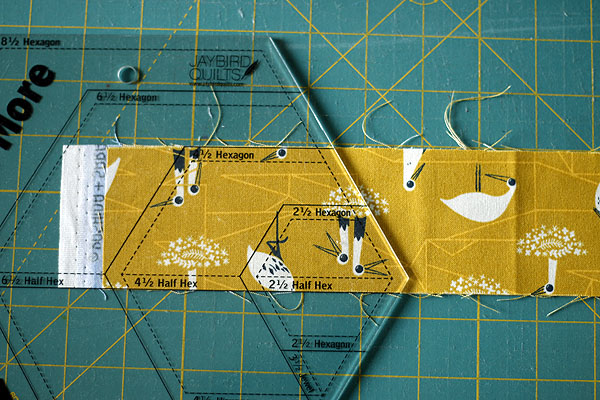
With your strips stacked or folded, cut multiple half hexagons at once. Match the solid, horizontal Half Hex lines with the raw edges of your fabric strip. Make sure the entire 4 1/2 Half Hex shape is over fabric, then cut along the diagonal edge of the ruler at right. Cut the long diagonal edge first, then move aside the excess fabric and cut the tiny diagonal edge too.
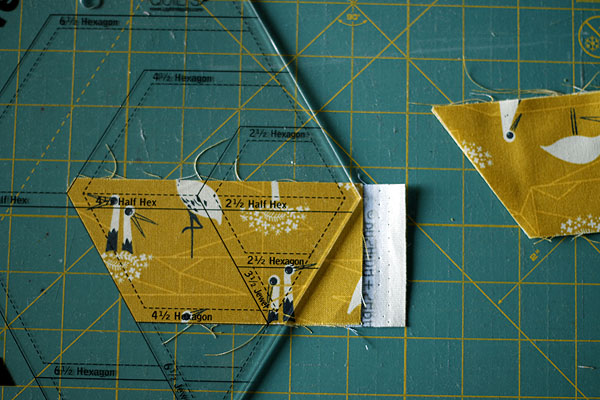
To cut the opposite diagonal slant of your half hexagons, you can either flip your fabric stack over and use the exact same part of the ruler OR you can rotate your fabric stack and slide the ruler up to use the lower half of the Hex N More hexagon. Whatever is easier for you! Keep in mind that either way you are cutting along the right side of your ruler both times (assuming you are right handed).
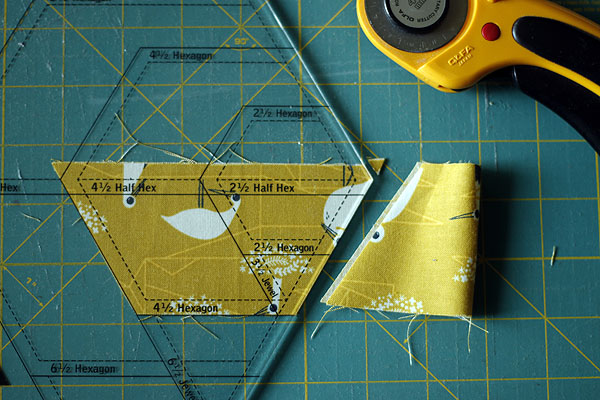
After cutting your first hexagons from the fabric strip(s), you'll be able to keep cutting by repositioning the ruler over the strip and slicing again on the right diagonal to free hexagons. Be sure to cut the tiny diagonal too. Those little cuts are removing dog ears and providing handy alignment clues for joining your pieces.
If I've lost you, check out this Jaybird video on how to cut with this ruler.
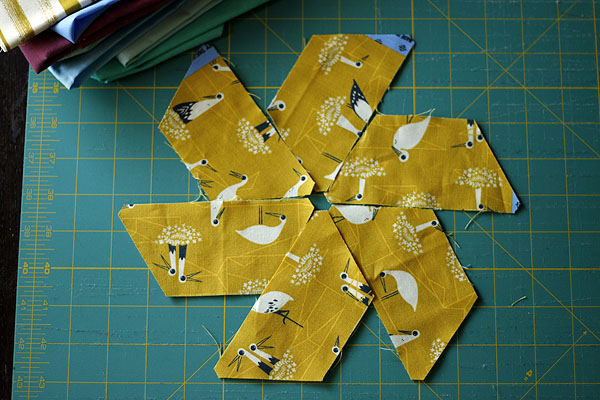
You'll need 6 half hexagons for each complete twirly top. Partial twirlies go along the edges of the quilt to fill in, so save any leftovers for that last step!
::Sewing::
It's essential to arrange your half hexagons on a design wall or other large work surface. If you don't have a design wall, try stretching a large piece of batting on a wall with simple push pins. Long term this would sag, but it's a fine solution for one quilt (and you can reuse the batting)!
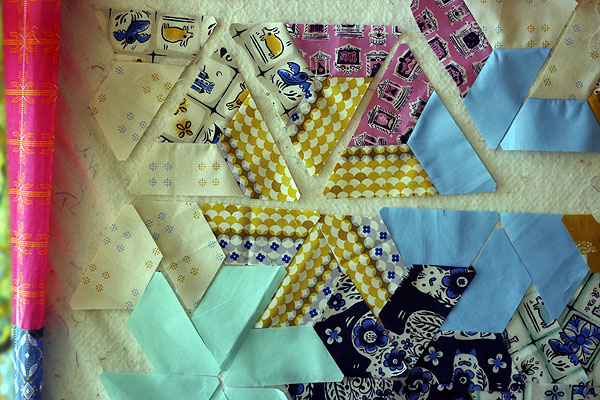
Sew half hexagons together into triangles, 3 per triangle. Notice that three different color/print half hexagons will come together in each triangle. Once you start seeing the triangles, you'll understand how this quilt is sewn together in simple, straight-edged rows.
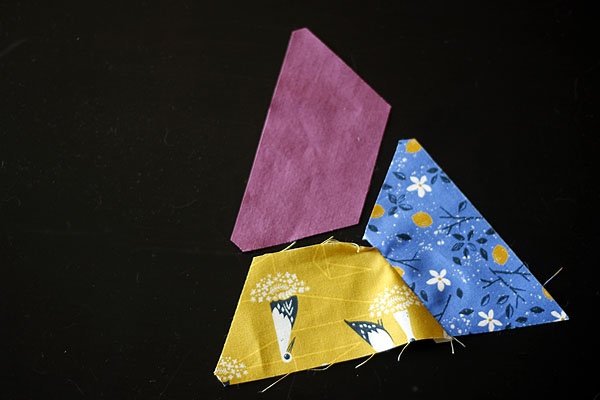
Join half hexagons using one y-seam per triangle. When sewing a y-seam, your first two pieces are partially joined. Leave a 1/4" gap of unsewn seam allowance at the "turn" of the future y-seam. Be sure to backstitch to secure this gap area from unraveling. Then, join the last half hexagon to complete the triangle with one continuous y-seam. If you've never sewn y-seams before, this is a simple, straightforward project to start with. My Still Point quilt pattern is also based on y-seams and demonstrates the technique in detail.
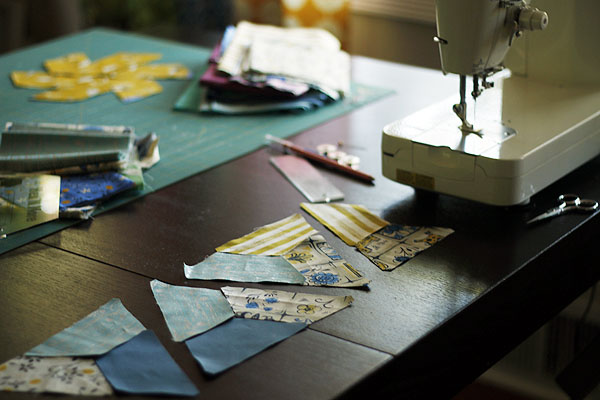
Work in rows, sewing, pressing and returning half hexagon triangles to the design wall in small batches. At the edges of the quilt, you'll need partial twirly tops to fill in the gaps. After joining triangles, join rows. Then trim off the excess half hexagons that protrude from the edges to create four straight quilt edges.
::Finished Size::
This quilt is a bit of a mind teaser when it comes to planning size. I found it helpful to think in triangle rows, not in twirly top rows. Each triangle row finishes about 6" high. To estimate width, count your full triangles (ignoring the partial edge triangles) and multiply by 3.75". A row composed of 13 full triangles (plus 2 half triangles) finishes about 49" wide.
My quilt is made up of 58 full twirly tops, plus partial twirly tops to fill out the edges. Without a border it would finish about 50" x 54". I plan to add a 5" border to bring it to a nice throw quilt size.
I hope that's helpful. Have a nice weekend!