Spiderweb Christmas Tree Skirt pattern
It's time to be sewing in earnest for Christmas! My Spiderweb Christmas Tree Skirt pattern was inspired by the geometric shapes inherent in the spiderweb block. It was really very fun to make, but I can't promise quick results - strip piecing does take time. I know our tree skirt will be enjoyed for years and years to come, so it was well worth it. I'll be sharing this tutorial in 2 parts.
See Part B for skirt assembly!
The finished Christmas tree skirt measures 53" square.
Part A - Make Spiderweb Triangles
This was my first time making spiderweb quilt blocks. I used Heather of a la Mode's tutorial, but her blog has since been taken down. Hopefully you can follow along with me here!
Step 1: Cut Base Pieces
Cut a total of fourteen 14" square blocks in a solid that will become the stars in your tree skirt.
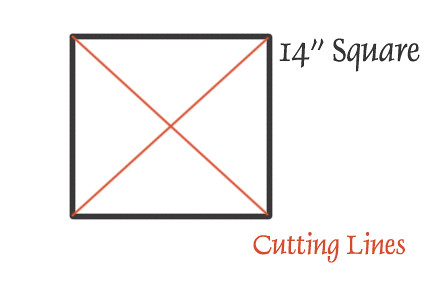
Next quarter each block. So, cut each block in half on the diagonal and then cut the resulting 2 triangles in half again. You'll have created 4 perfect triangles from each 14" block, for a total of 56 base triangles!
Step 2: Mark Base Triangles
In this step, you'll place pencil marks on your base triangles that will allow you to accurate piece the fabric strips. Fold each triangle in half and place a pencil mark on the fold 1/4 inches from the longest side. This is mark 1.
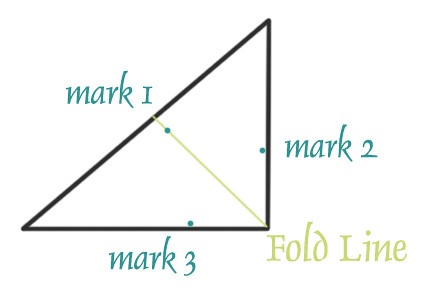
Next place marks two and three at 3.25" from the center fold on the two short edges of your triangles. Draw lines to connect marks two and three with mark 1 (see pencil marks in picture below).
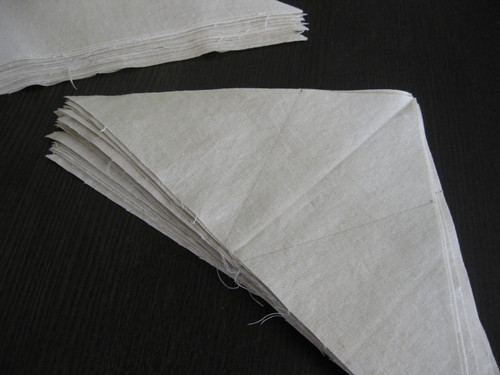
Unfortunately, you have to mark each of your 56 triangles this way. I know, I know
Step 3: Prepare Fabric Strips
I had never done any string piecing before this project, so I was surprised how long it takes to fill up those triangles with strings of fabric! Very quickly, I discovered to use wider strings to help speed things up. My blocks were pieced with strings ranging from 1 - 2 1/4" wide. You can choose whatever widths you like, of course! Variety in widths is good here.
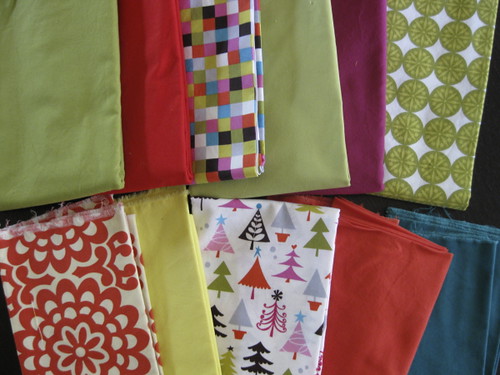
Spiderweb blocks are a funky, scrappy look. I also chose some bold prints in Michael Miller's Christmas Spice line, so I knew the finished look was going to be quite lively. For moderation, I added in a large helping of Kona solids, including: cerise, tomato, coral, artichoke, olive, buttercup and emerald. When I got started piecing, I decided to add in some black and white prints for balance as well.

Cut fabric strips in 2-3 different widths from each fabric for variety. Cut from edge to edge of your fabric pieces, to create the longest strips you can.
Step 4: Piecing Triangles
Now that you have a pile of strings and a pile of marked triangles, sew the spiderweb triangles by adding strips to the triangle foundations. Sew the strips directly to the foundation and press fabrics open. Keep adding strips until you cover the triangular portions of the foundation fabric. Then trim away excess string fabric to match the foundation. Nights later, I had a pile of triangles with 2 string pieced sides and a plain, linen center that will become my stars.
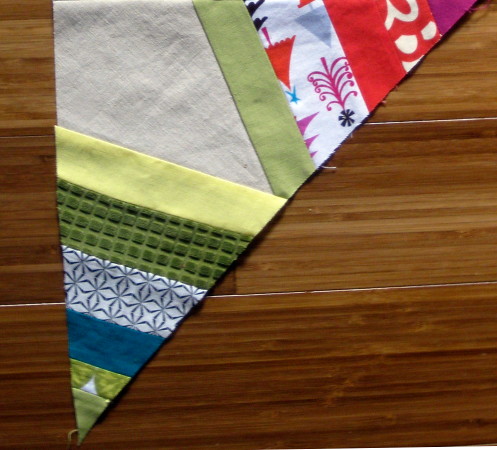
You cut a total of 56 triangle bases. Complete 48 of those triangles as shown. For the remaining 8, only piece one half of the triangle. Less work, yay! These halfway pieced triangles will form the yoke around the Christmas tree trunk itself, so set them aside - they're special.
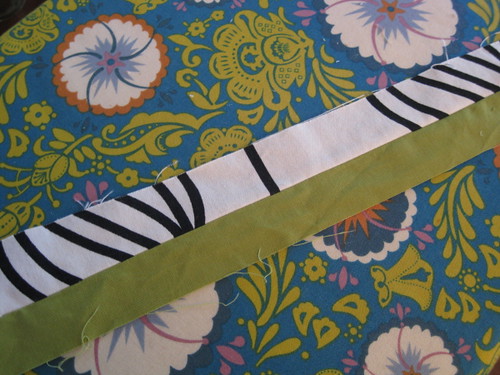
Quick Piecing Tip: When you're sewing a string of fabric onto another string, if you particularly like the two together, sew the entire strips together far beyond what you'd need to cover that part of the triangle base. Then, after trimming, you'll have a partially pieced, wider string that you can add to a different triangle base to save time! Here's an example of a pre-pieced strip:
After all this string piecing, you've done most of the work in making your Spiderweb Christmas Tree Skirt. Next week I'll show you how to complete it! You'll need backing that measures 53" square. I used a heavy corduroy to give the skirt weight.
It's SIX weeks till Christmas!

