Bottled Rainbows: Quilting
This post is part of a series Bottled Rainbows {ticker tape quilt along}. You can join in anytime. We're going at a leisurely pace and using up our scraps! Please see this page for links to all posts.
Ready to finish? Once you have pieced your Bottled Rainbow quilt top, the basting, quilting and binding can proceed just like any quilt. In fact, it's a little easier because you don't have to add the batting layer to your quilt sandwich.
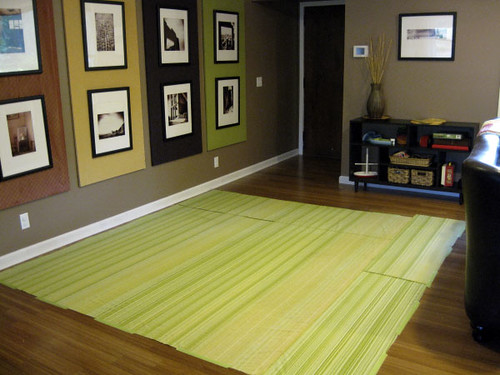
Is it just me, or is this backing scary huge? Yeah, I thought so. I'm feeling thrifty because I dissected and pieced together our master bedroom duvet cover to create my Bottled Rainbows backing! And you know what, that means Brandon can't change his mind now because this new quilt is all we've got to cover our bed. Muahahahaha!
I had planned to use the Argyle in Bright (Remix by Robert Kaufman) to back Bottled Rainbows. But, now that this quilt is going on our grown up bed rather than the child's bed I'd imagined, something a bit more calm was in order.
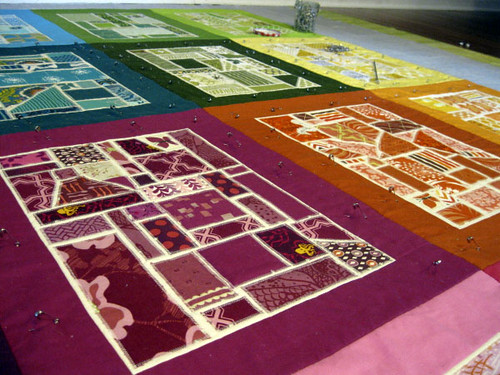
This morning I taped my backing down (wrong side up) and carefully spread my quilt top over it (right side up). Then, in the startling silence I mustered my little pin soldiers to attack.
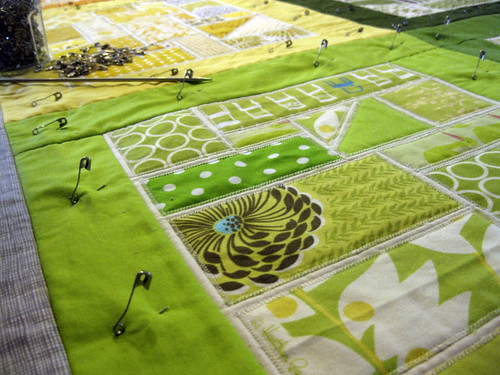
And, with a little help from Mr. Knit who is supremely handy at closing those pins, I basted and basted and basted my little heart out.
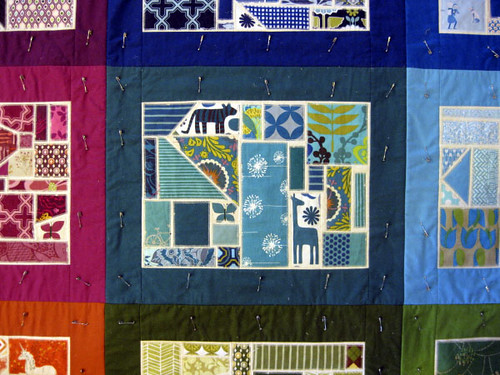
Actually, fact is, I really didn't have to baste too much for a quilt of this size. Since the center of each Bottled Rainbow block is already generously quilted to the batting, I have decided to quilt only along the seam lines of my blocks. The point of this second round of quilting is simply to attach the quilt top to the quilt back. Accordingly, I only basted around those seams and in the sections at the head and foot of the bed that extend beyond the Bottled Rainbow blocks.
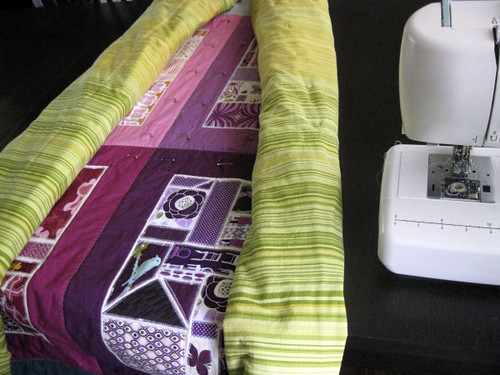
Roll that baby up and have at it!
I'm quilting with a modified zigzag stitch in the same off-white thread I used for the ticker tape quilting. Don't forget to start quilting along the center seam lines to stabilize things. For more details on how to wrangle all that quilt into your home machine, see this tutorial from my Colorbrick Quilt-along.
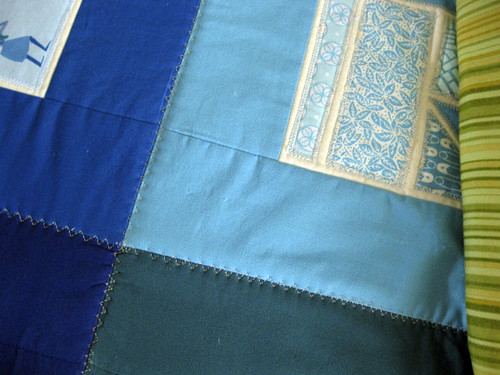
I do love the zigzag stitch! It happens to be handy for disguising my less-than-stellar quilting skills. Honestly, I'm not very good at stitch-in-the-ditch, and I know I'd have trouble doing long straight lines when handling a quilt of this size. This approach is very forgiving. It also echos the zigzags I used to ticker tape. Oh, and to lock the quilting in place, I start and end each line with a straight stitch of zero length.
Quilting still in progress!