easy Quilt Labels
Do you label your quilts? I do. For years I've been sewing simple little ribbon labels into my quilt binding to identify them as Stitched in Color quilts. It's super easy and requires no extra sewing. I simply slide the raw edges of the folded ribbon label into the binding during the binding-pinning process.
Our bed quilts have been washed many, many times but those labels haven't faded or frayed. You can order labels like these from gutenTAGS. If, when you visit her Etsy shop, it says she's currently on a break, contact her anyways. She can put you on her wait list and work on your project soon. Once you have made tags with her once, reordering is always available.
Recently Gotham Quilts' Newsletter linked to this tutorial on creating a custom quilt label. I like the idea of recording the name of a quilt, plus the year and maker. I know that so long as my blog exists, my quilts are traceable by Stitched in Color, but it feels especially handmade and personal to include a label like this. As I make my quilts they often develop a name that expresses something important to me about the process or intent of the design. I'd love to put that right on the quilt, a simple meaning memento.
My interest was also piqued because Shannon's labels are simply handwritten. That's doable and personal. Double points! Plus she finishes the label edges with a smart sew & turn method before attaching them.
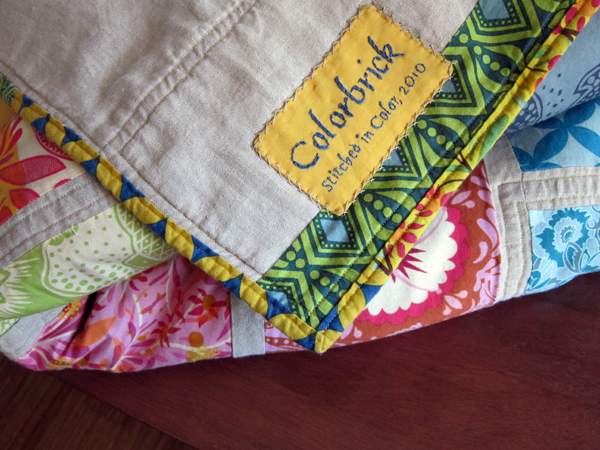
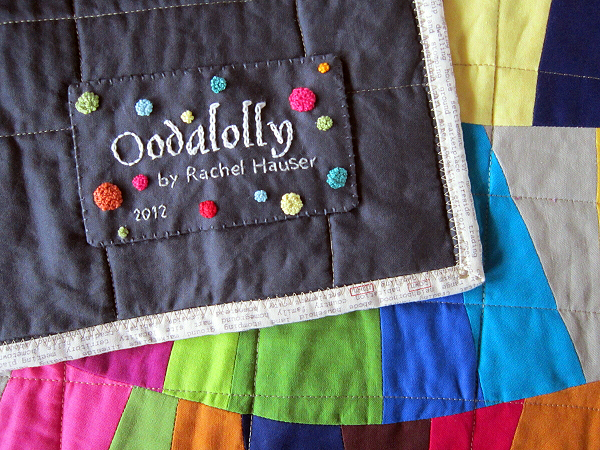
I have actually made custom labels for three quilts: Modern Medallion, Colorbrick (my first quilt) and Oodalolly. I love, love, love those labels, but haven't made labels sense. At the end of the quilt-making process I yearn to finish. Hand embroidering a label just doesn't appeal.
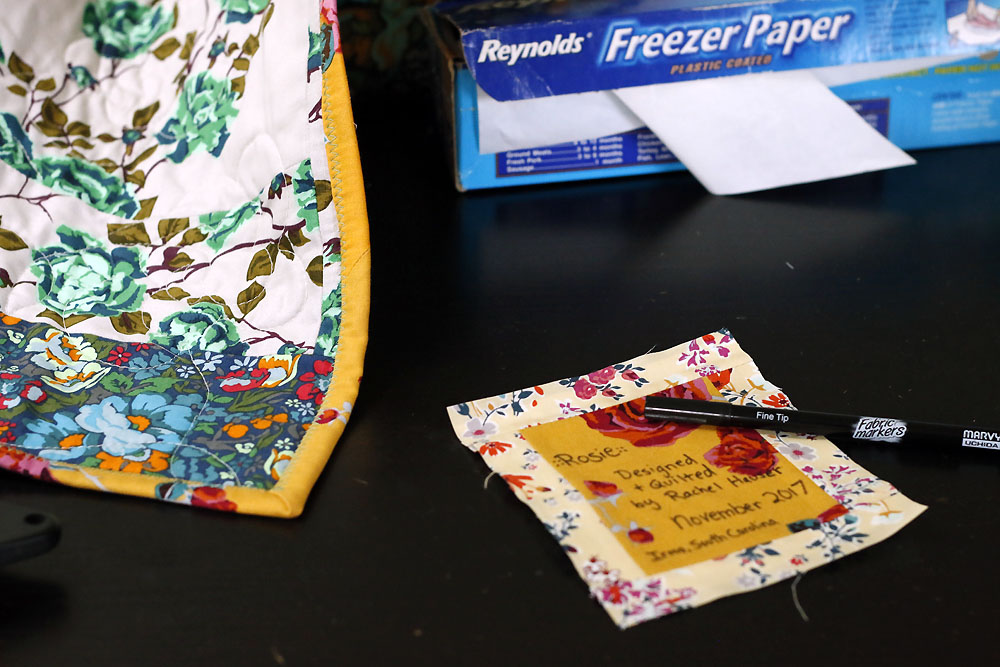
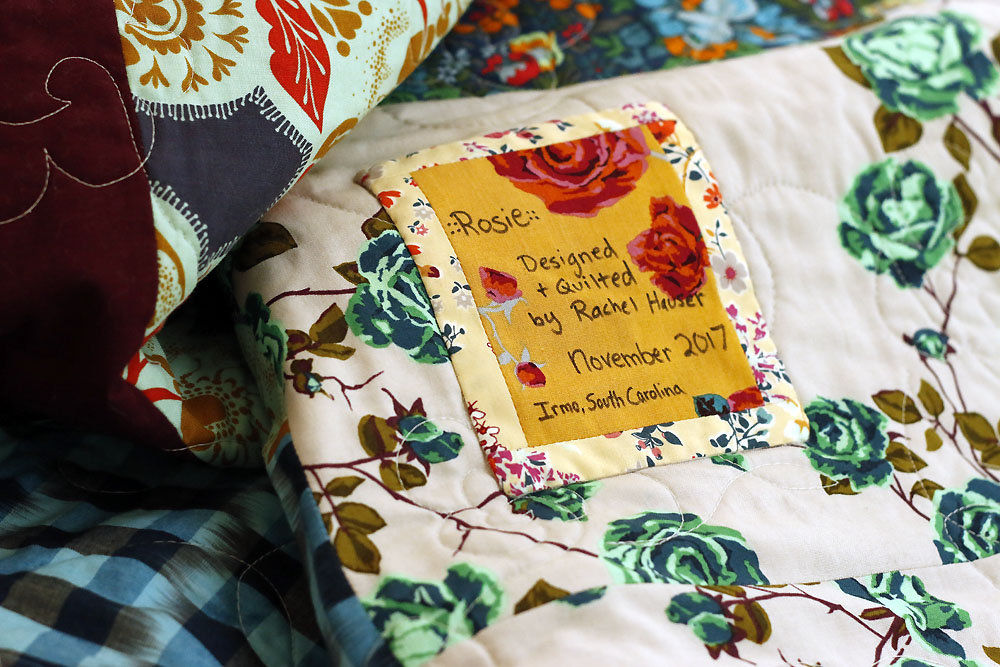
Well, there's no time like the present to try something new. I made two labels following Shannon's tutorial. This first one is for Rosie quilt. I did some simple piecing, then wrote on the fabric with a fabric pen after stabilizing the fabric with freezer paper. That worked great! The label was easy to write on, though my text layout skills leave a bit to be desired.
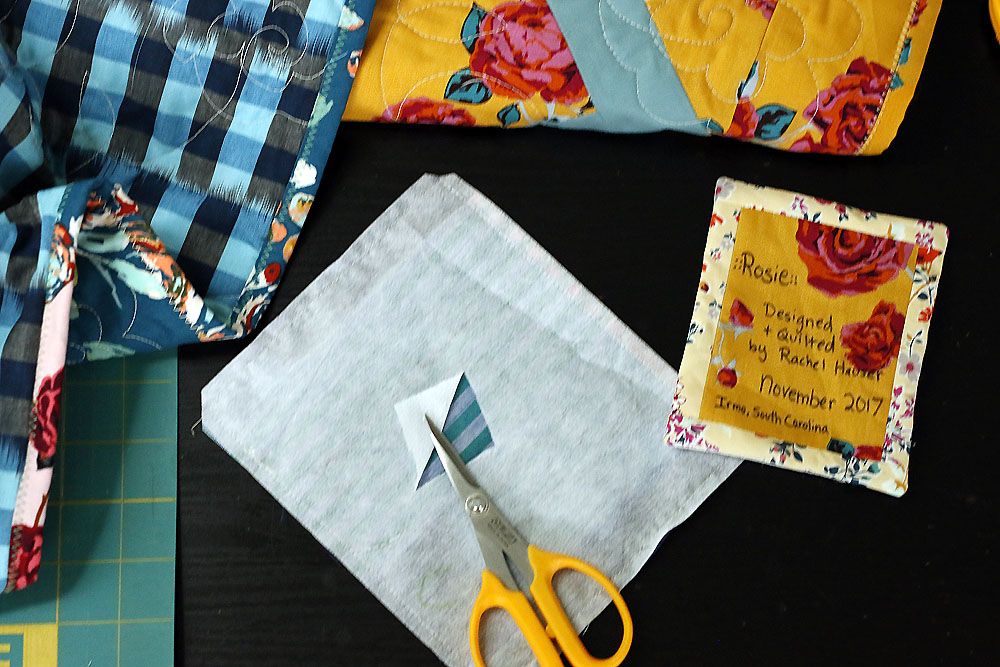
After setting the ink with my iron, I sewed the label right sides together with some lightweight fusible interfacing. Then, I cut an opening in the interfacing and turned it right side out.
By the way, I've tried this type of sew & turn with fusible webs such as Steam-a-Seam before. Steam-a-Seam is too lightweight. It falls apart in the process. This time I used lightweight interfacing (some sort of Pellon) and it worked beautifully!
The prepared labels can then be fused to the quilt back and handsewn to attach. Easy peasy!
What do you think? I think it's an improvement! Now, should I continue to use the Stitched in Color ribbon labels in the binding, plus these large handwritten labels? I'm thinking the large labels can easily be removed, if they're unwanted. The ribbon labels feel more professional and are quite securely attached to withstand the years.
Psst... finished Penny Sampler coming soon!


