Wonky Star Block tutorial
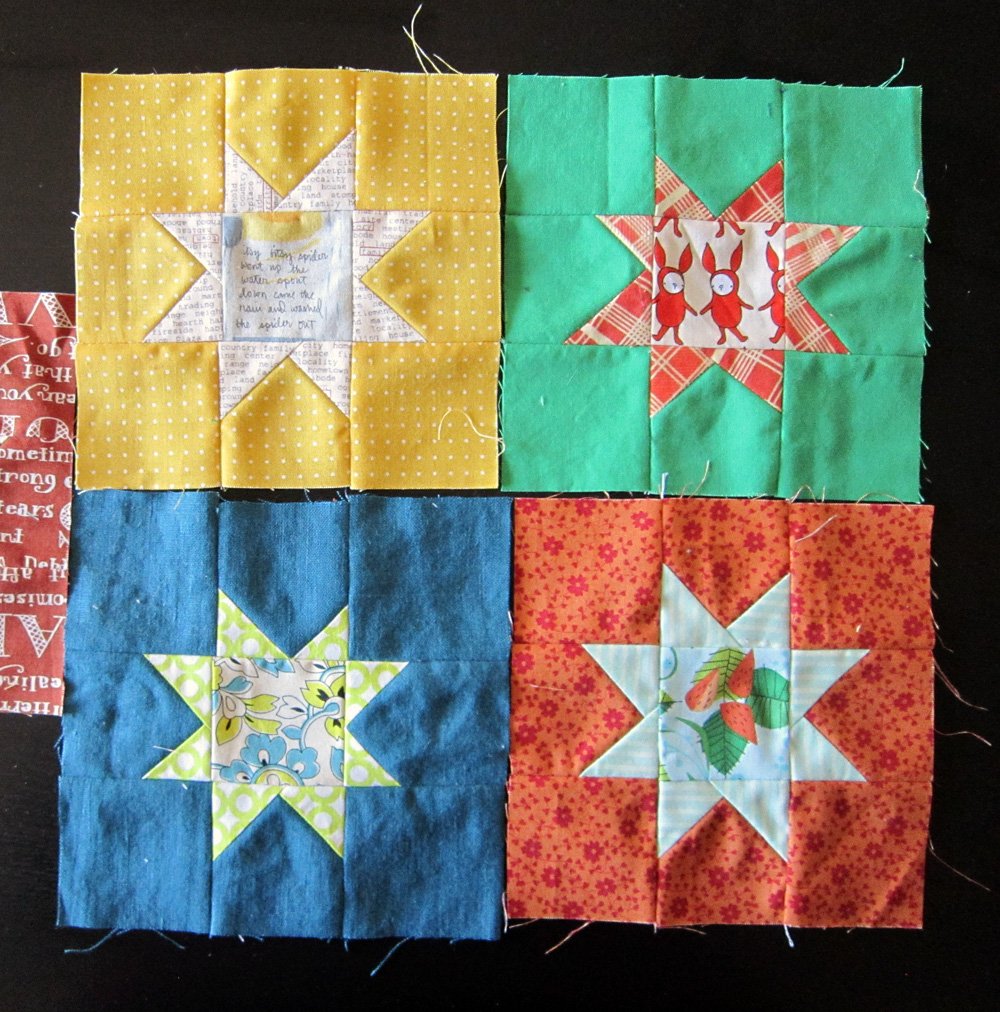
The wonky star block has a sort of organic twinkle. The irregular points flash with personality, like a signature. It’s my favorite block for using up triangle scraps, as each block uses 8 triangles - one for each star point!

I hope you enjoy sewing these stars, in whatever size block suits your fancy!
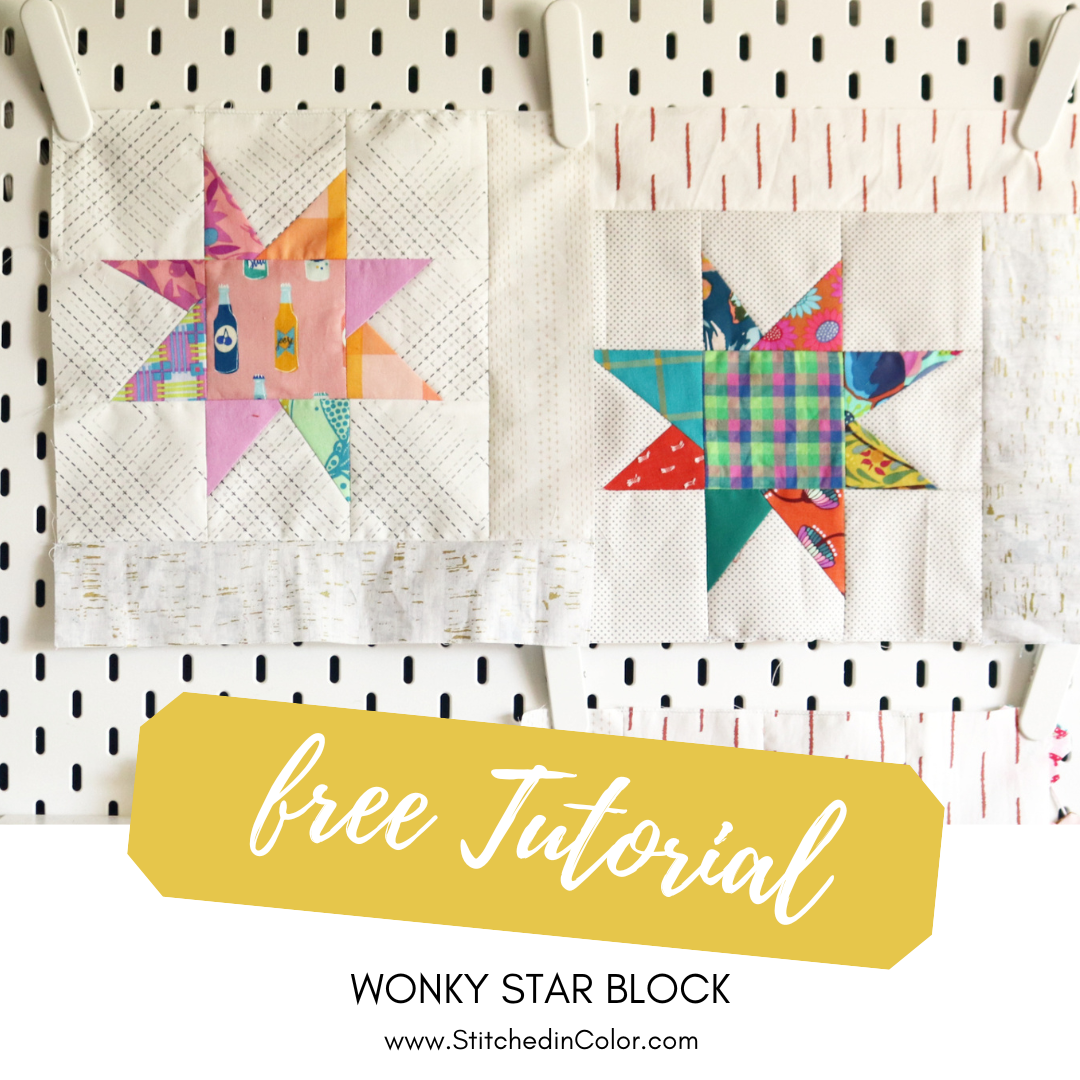
Wonky Star Block tutorial
Yields: blocks in a variety of sizes
Method: Stich and flip with scrap triangles
Level: Beginner
Step 1: Choose block Size
Your block can be made in any size that divides easily by three. That’s because the block is sewn as a 3 x 3 patchwork grid. For example, a 6” block would be made from 2” patchwork elements (2 + 2 + 2 = 6). A 9” block is sewn from 3” patchwork elements. The blocks I am sewing in this tutorial finish at 7.5”. They are made up of 2.5” finished patchwork elements.
Step 2: Cut Squares
Cut squares in the size of your patchwork elements, plus 1/2” for seam allowance. Here are some common sizes:
6” finished block with 2” patchwork elements: cut 2.5” squares
7.5” finished block with 2.5” patchwork elements: cut 3” squares
9” finished block with 3” patchwork elements: cut 3.5” squares
12” finished block with 4” patchwork elements: cut 4.5” squares
Cut 8 background squares and 1 star center square.
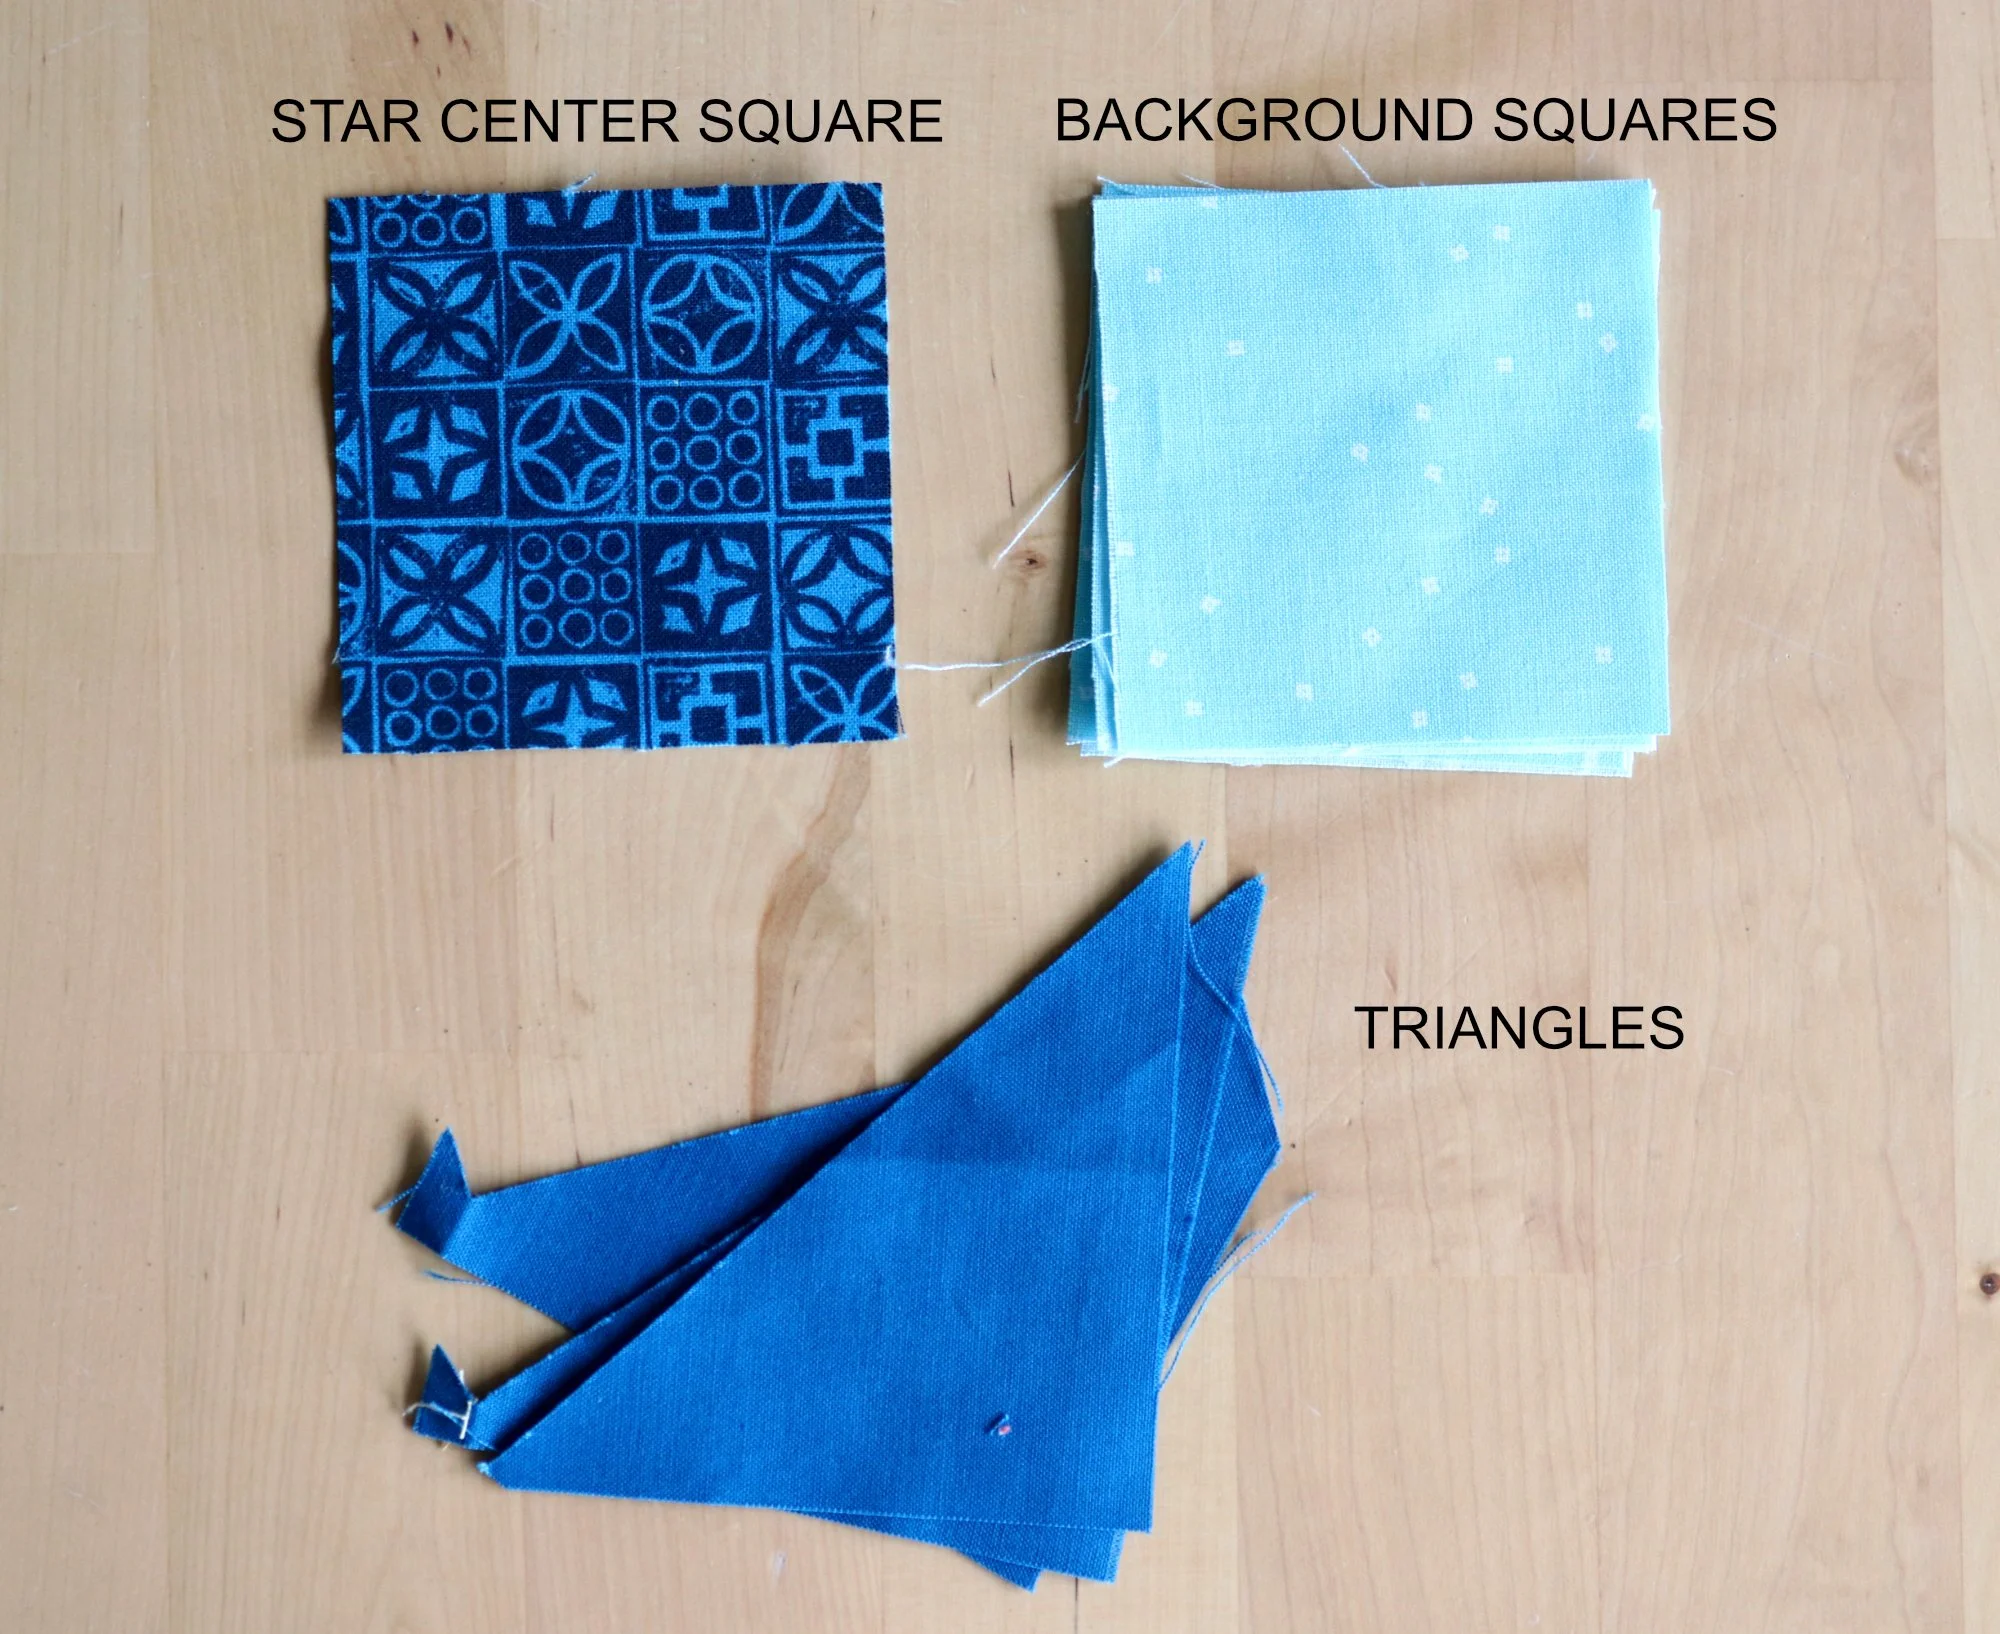
Step 3: Locate Triangles
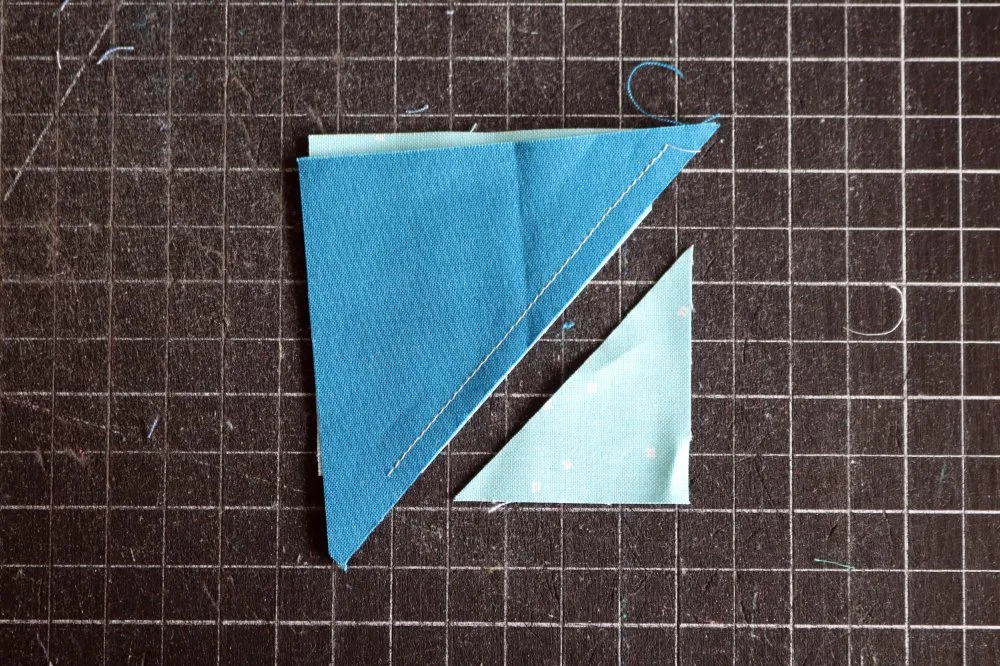
Locate 8 scrap triangles for your star points. The best triangle type for these blocks are half square triangles, such as those above. These are triangles with one 90 degree angle. Such a triangle can be made from cutting a square in half. A variety of triangle sizes makes your star points more interesting, so don’t be shy to experiment and see what size triangles you like for your block. If a triangle scrap is far larger than required, you can cut it in half to yield two 90 degree triangles.
Step 4: Sew Triangle Points
You will use 4 background squares for this step. Two triangles will be sewn onto each background square. The triangles are added with the stitch and flip method. Read completely through this step before beginning.
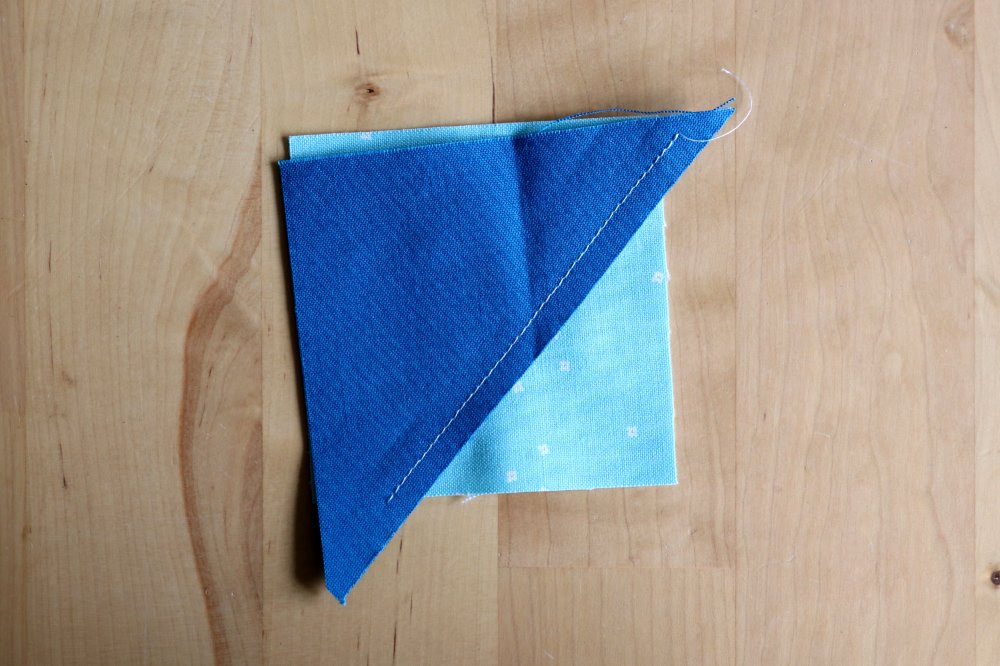
Start by layering one triangle right sides together over a background square. The placement of the triangle can vary, so long as it will be able to cover the portion of the background square that is below the triangle. After sewing you will “flip” the triangle down so that it replaces the lower portion of the square. Generally good placement of the triangle scrap means that those pointy triangle ends will stick out on either side of the background square.
Sew a 1/4” seam, following the triangle edge. Then trim away the excess background fabric equal to the triangle edge, so that the background has a 1/4” seam allowance.
Press the seam open. Place a second triangle on your background square, this time slanting in the other direction. Again, sew a 1/4” seam, following the triangle edge.
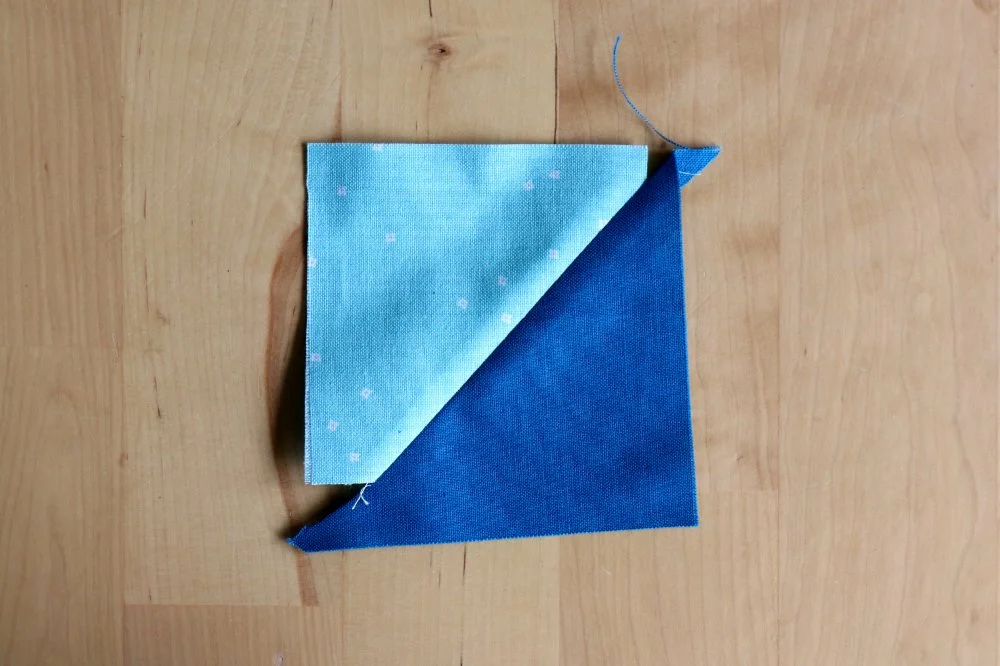
Trim along the raw triangle edge, just as with the first triangle. This time you will trim away excess background fabric and some of the first triangle fabric. Press the second triangle seam open.
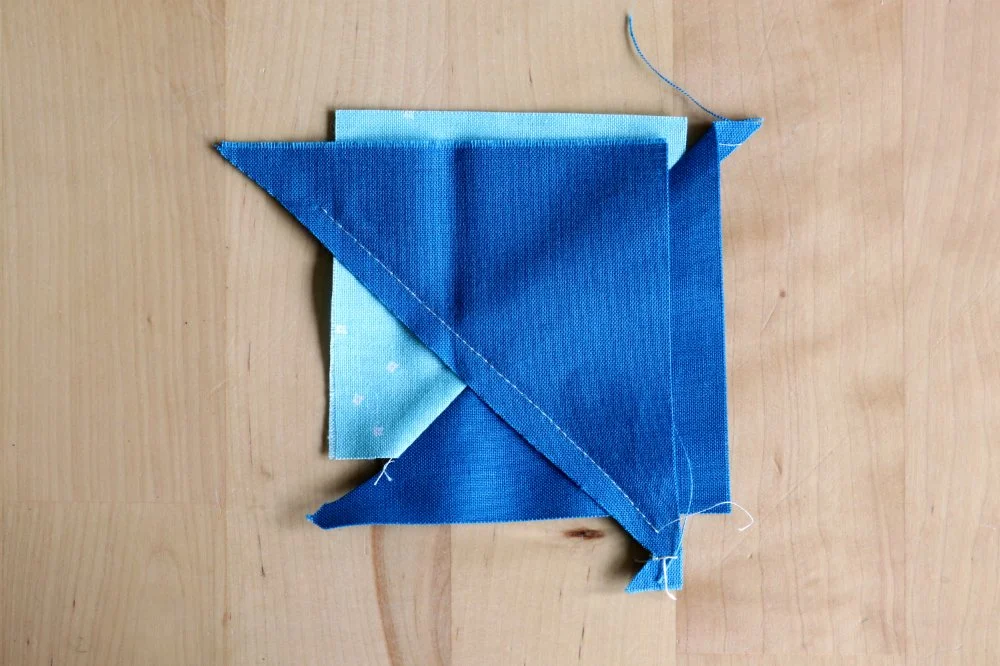
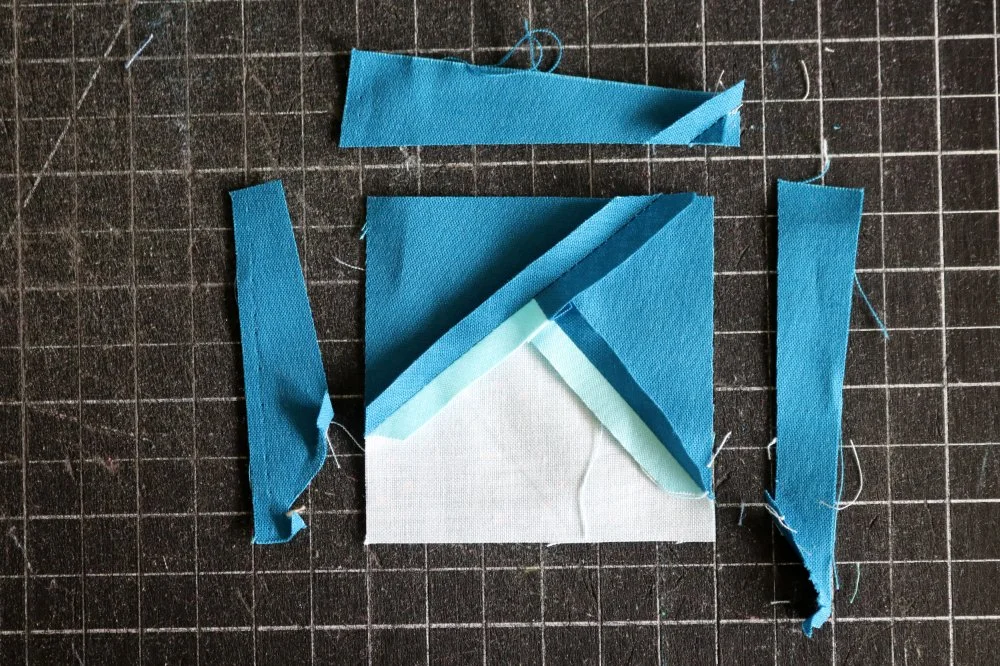
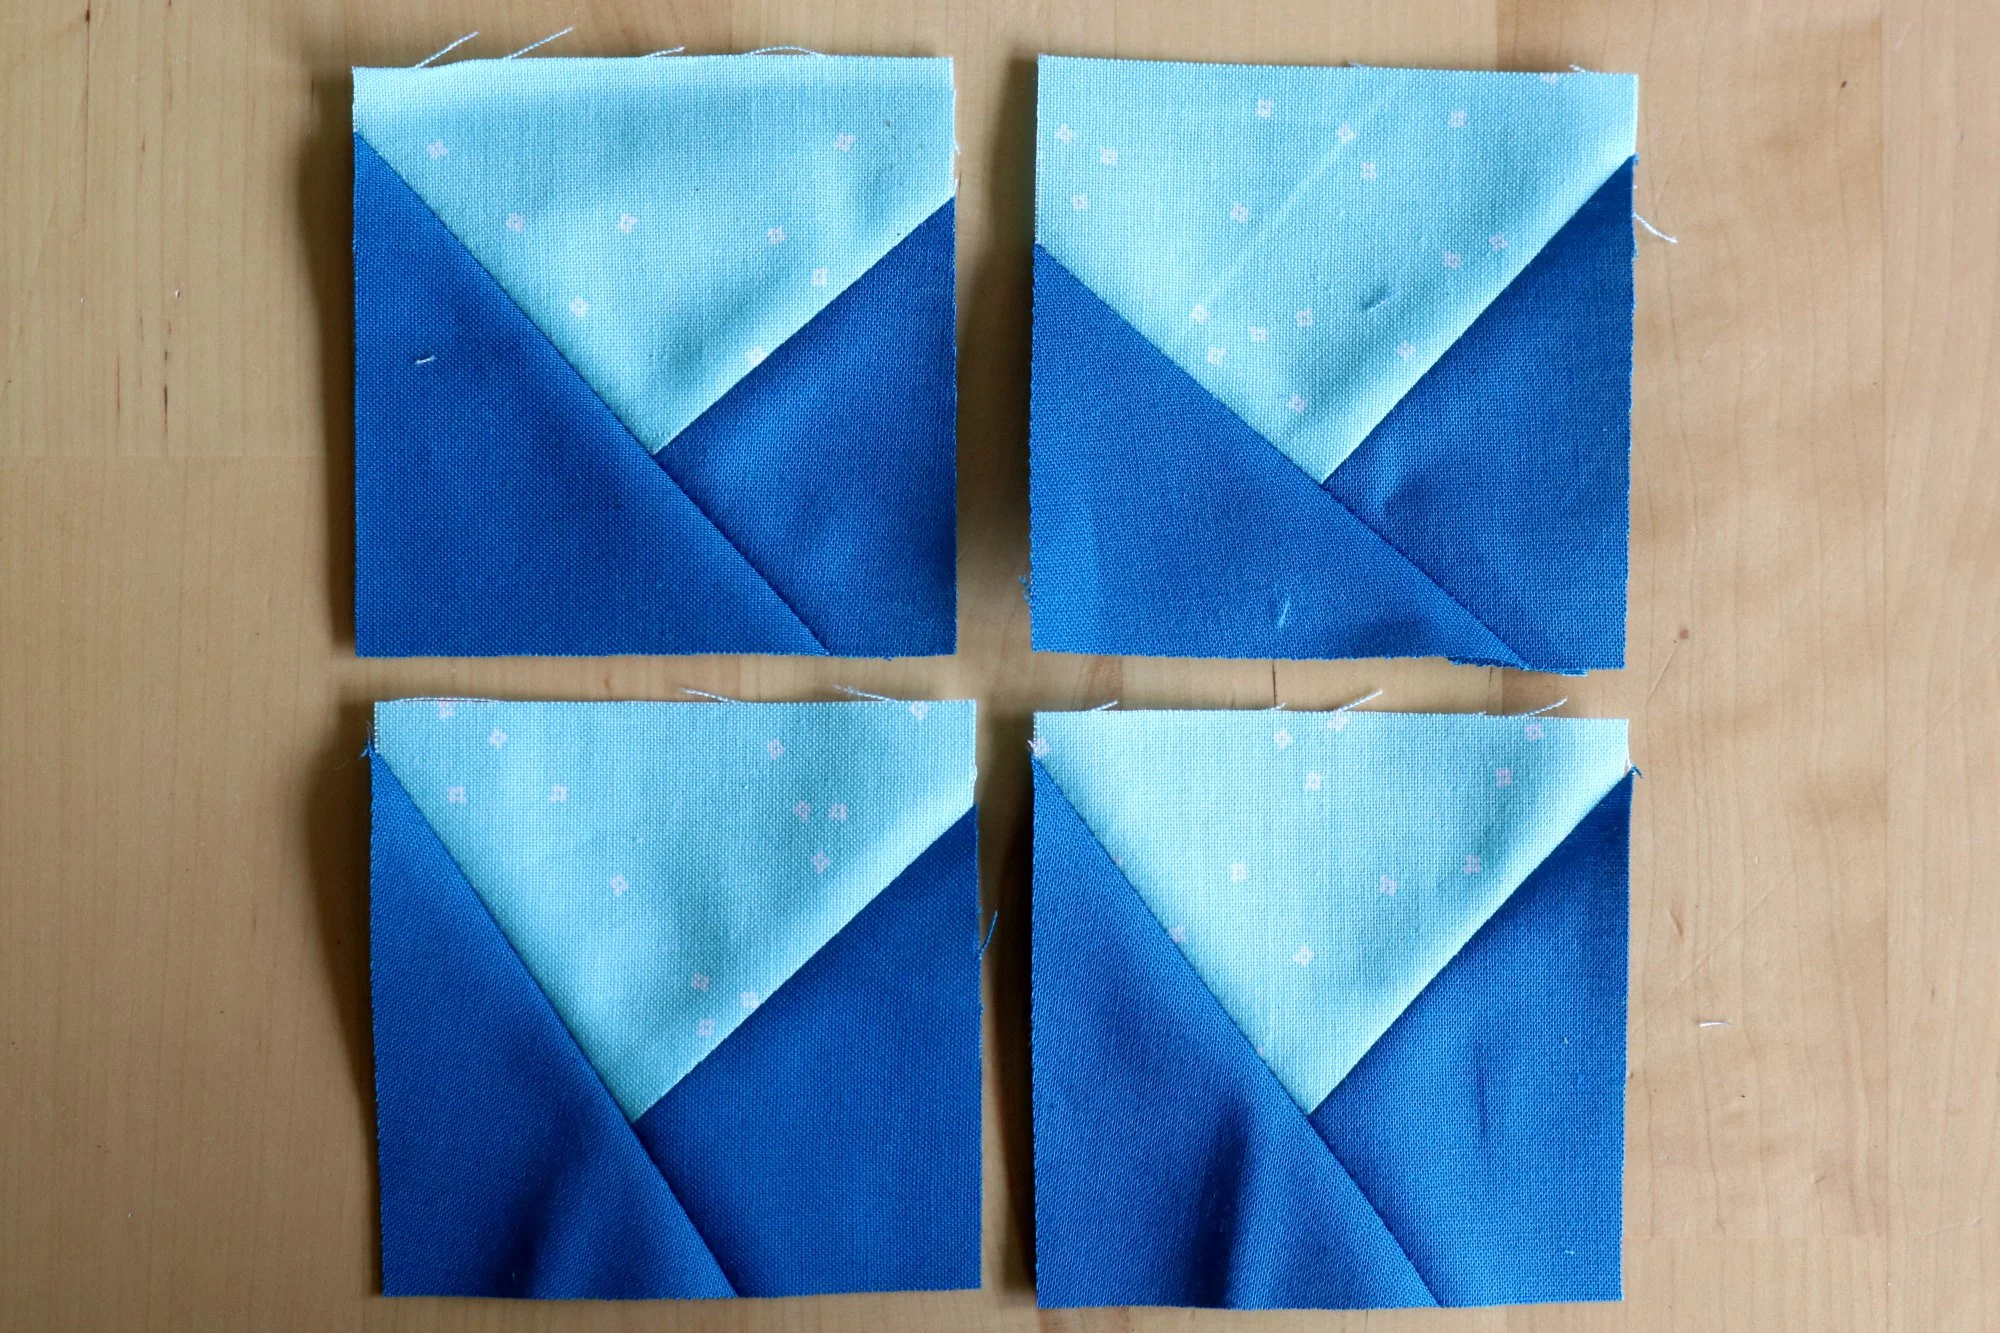
Trim the patchwork element so that it returns to the original size of your background square. For example, I am sewing 3” cut background squares. After adding both triangle points, I trim the work to 3” square. When trimming, do not cut off any background square fabric. Trim along three sides, removing excess triangle fabric only.

This is a "wonky" star because the exact angle of your triangles will naturally vary. You don't have to make large, purposeful "wonky" angles to get the look. Subtle differences go a long way. Sew four background squares with two triangles points each, as shown.
Step 4: Sew Block
Arrange your patchwork elements in a 3 x 3 grid. The center square goes at center. The plain background squares go at all four corners. The star points go in between.

Sew patchwork elements as three rows, using a scant 1/4” seam allowance. Then join rows to complete block, also with a scant seam allowance.
Trim the unfinished block to the appropriate unfinished measurements. That will be the finished block measurement, plus 1/2” for seam allowances. For my 7.5” finished block, I trim the unfinished block to 8” square.

There are endless variations possible, and all are scrap-friendly! A wonky star quilt is a perfect baby quilt and makes a fun group project too.
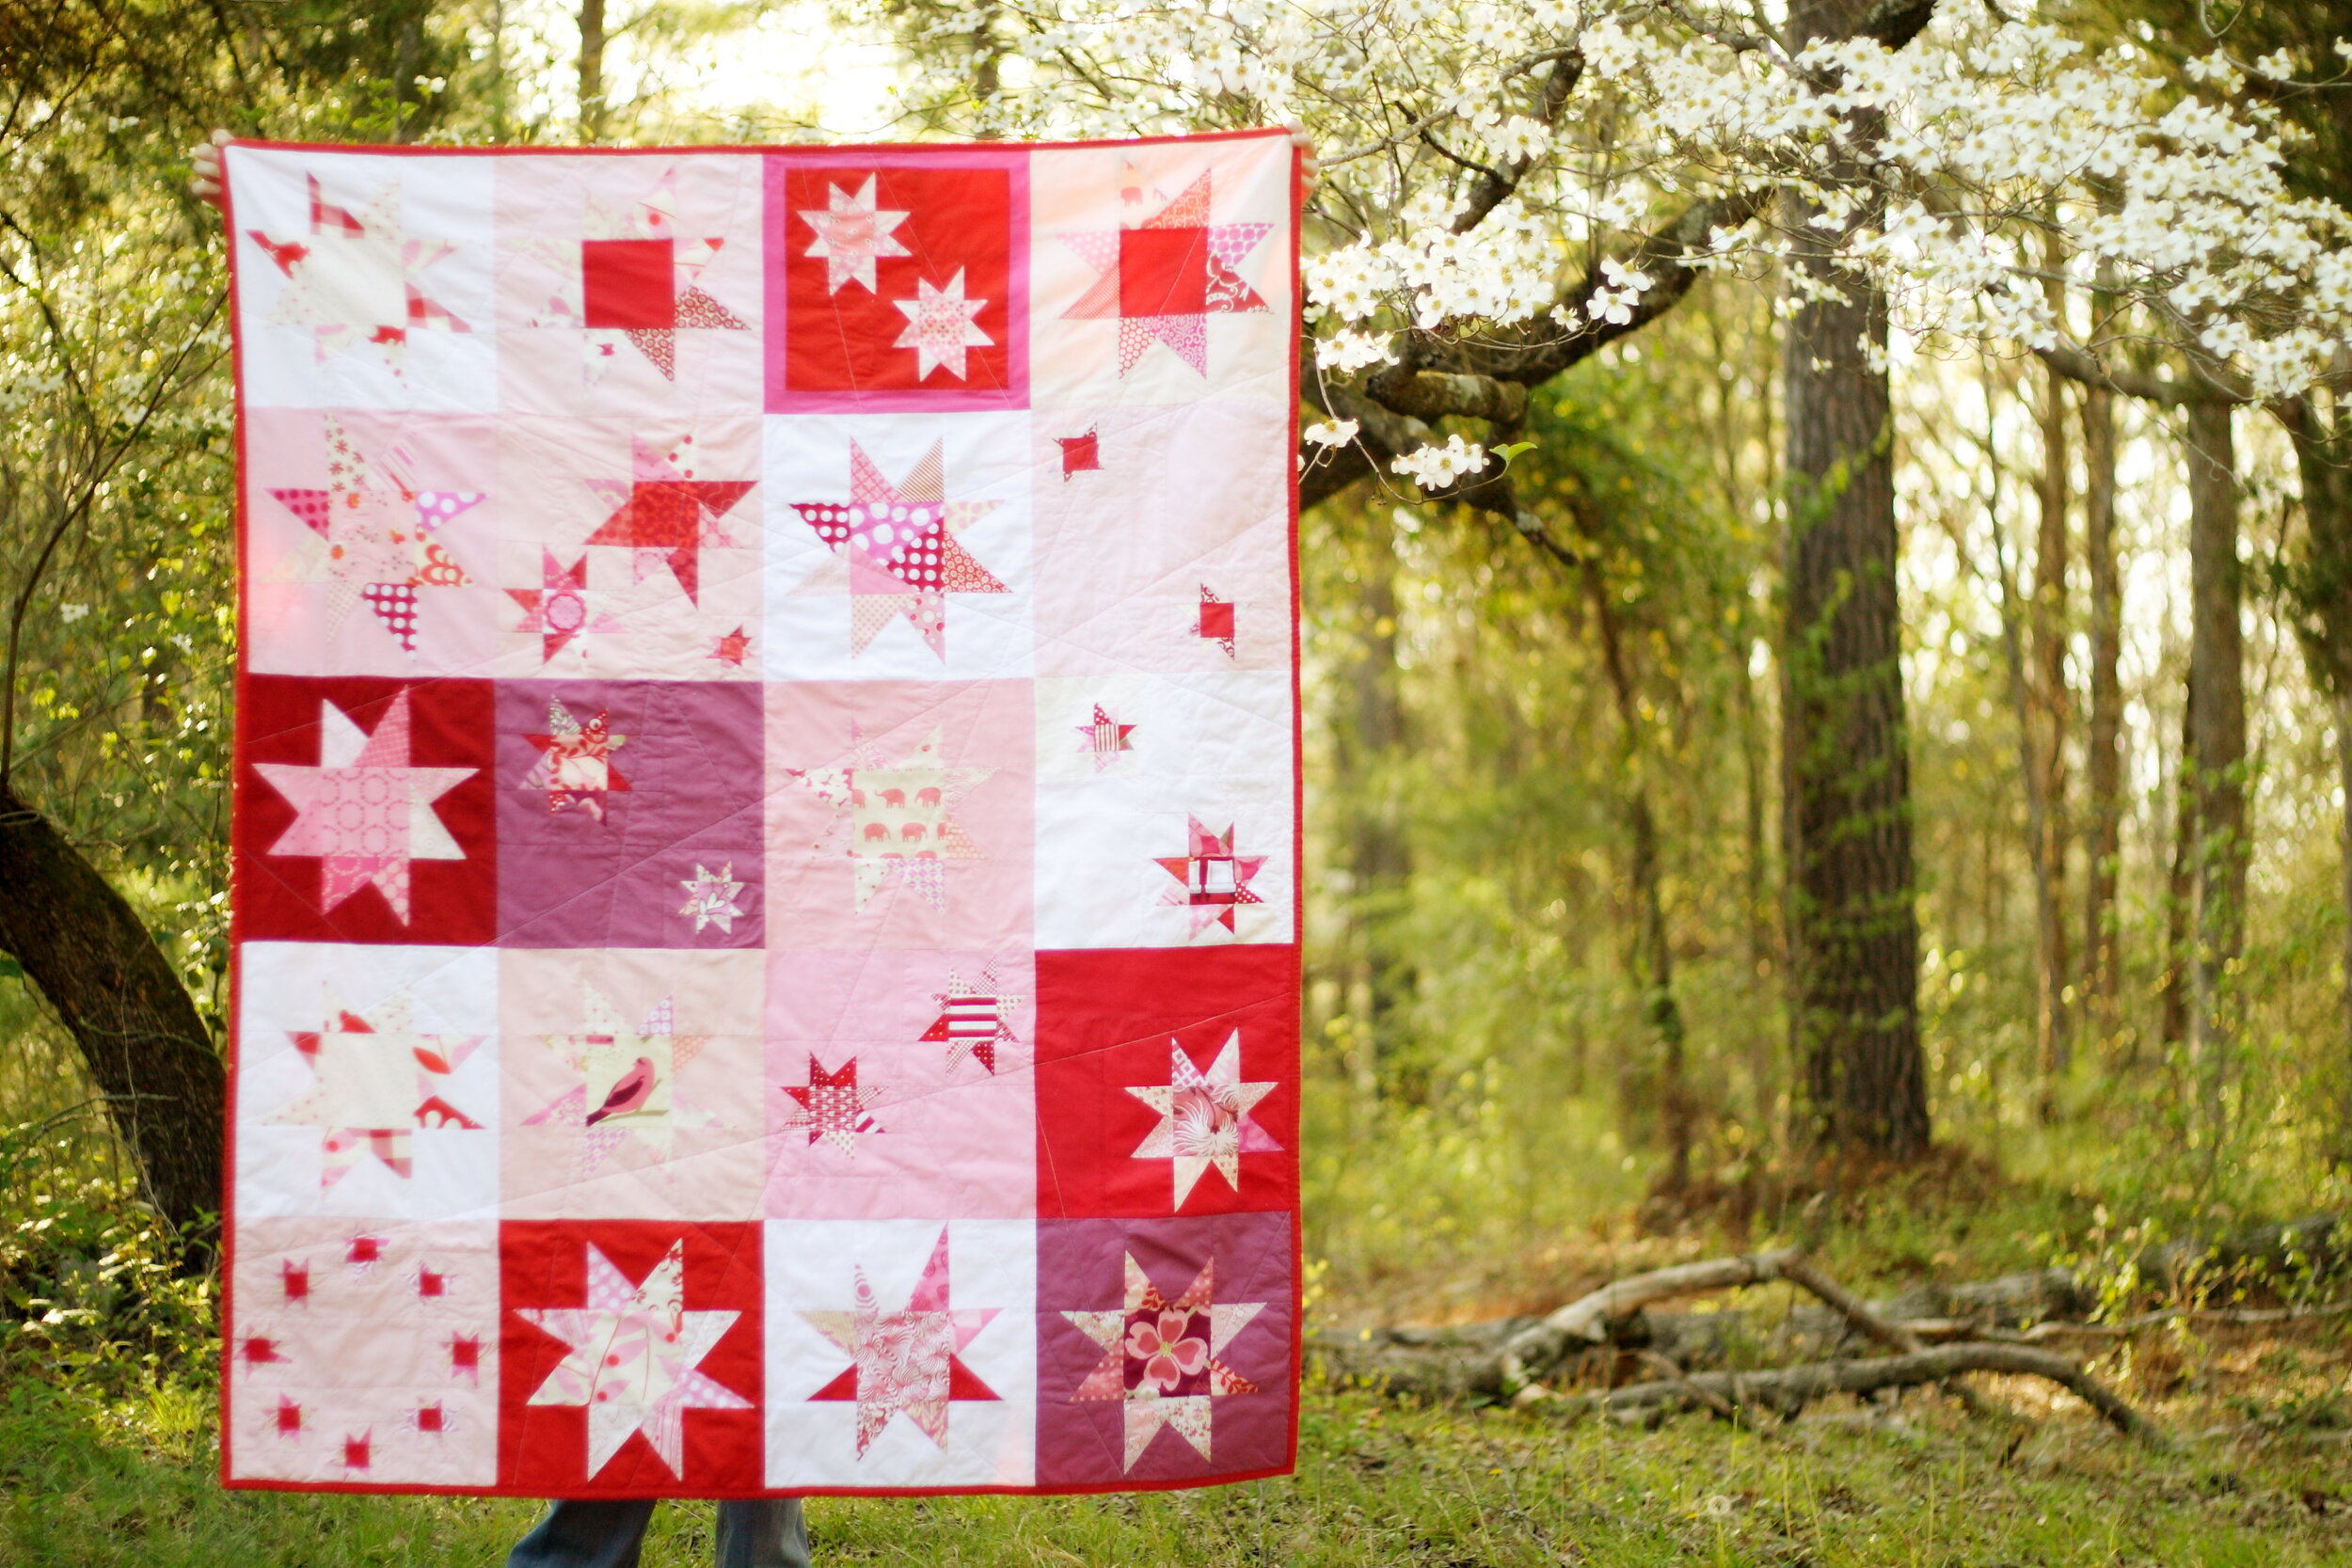
I hope you enjoy sewing Wonky Star blocks!
If you share your creations on Instagram, please add the tag #StitchedinColor so that we can see what you’ve made!