Quilt-As-You-Go Log Cabins tutorial
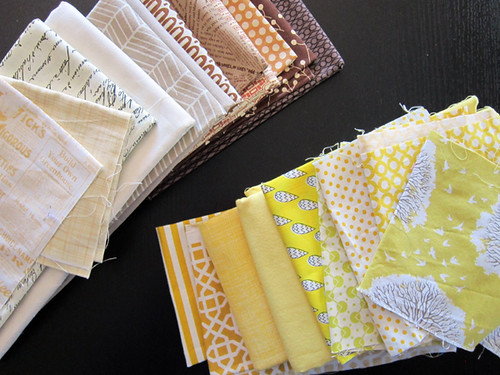
It's my month to lead the quilt for the Love circle of do. Good Stitches! You'd think I'd try to be clever, like my outstanding circle mates, and come up with something unique for us to do. Nope. This time I just want to indulge in a project I've long wanted to do and probably never would tackle on my own - the quilt-as-you-go log cabin. Nothing fancy, nothing different, just a classic log cabin in a simple color palette, because it feels good.
And, I got to thinking that this is such a great quilt project for new quilters. With the quilt-as-you-go method, the batting is attached and quilted to the quilt block as you make it. This is the part I'll show you how to do in this tutorial. Then, after you make the individual quilted blocks, you assemble the blocks with a normal 1/4" seam, pressing seams open, and then add the quilt backing at the end.
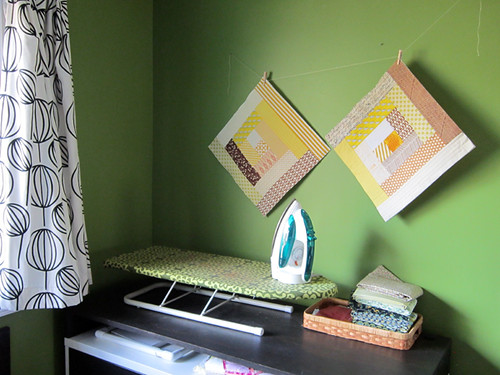
Quilting a large quilt on a regular home sewing machine can be challenging. With quilt-as-you-go, you can create quilt blocks with lots of texture and long-term durability, while avoiding the huge quilting task at the end. To connect your quilt back to the assembled and already-quilted top, you can machine quilt just along the block seams using a straight stitch or a zigzag stitch (which is a good way to disguise any less-than-straight lines!). Or, you can connect the quilt back to the quilted top by tying it by hand. Tying is an old-fashioned method that totally works. And, I think it's fitting for a log cabin especially!
So, without further ado, here's my recipe for quilt-as-you-go Log Cabins, finished block size is 14". Each log finishes at 2" wide.
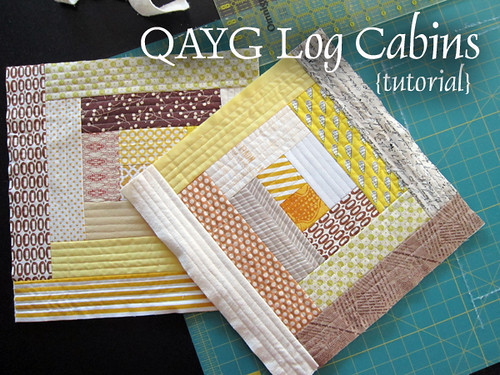
Quilt-as-you-go Log Cabin Tutorial
Begin with a square of low-loft batting, about 15" or larger. I'm using Warm & Natural batting, my go-to batting choice!
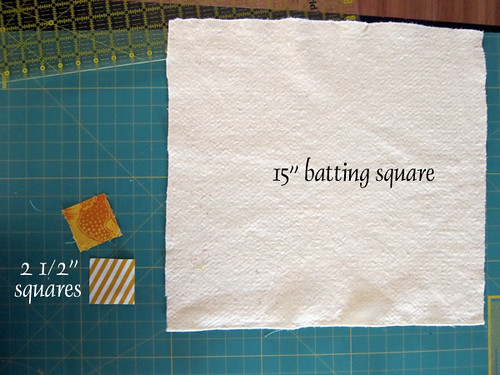
Cut (2) 2.5" squares.
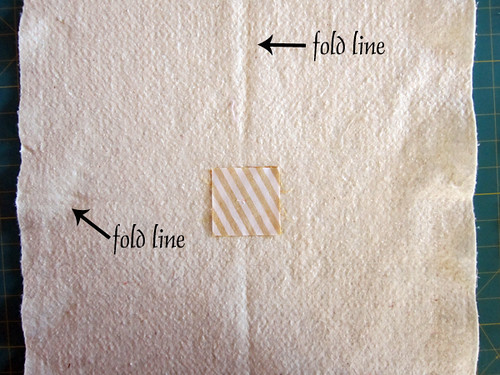
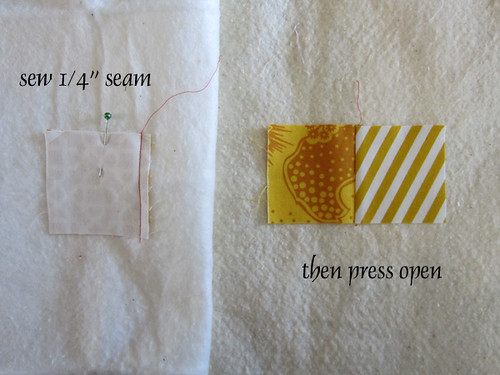
Place squares right-sides together approximately at center of the batting. (If you need help finding center, fold the batting in half, crease with fingers, unfold, fold in half the other way, crease with fingers and unfold. Center is where the fold lines intersect.) Pin squares in place.
At the sewing machine, sew a 1/4" seam along the raw edges of one side of the matched squares. You will be sewing through the batting, permanently anchoring your squares in place. Then, open the squares so that right sides are exposed. Press squares open. The square on the left is the center of your log cabin block.
Using coordinating thread, quilt the first two squares as desired. I chose straight lines spaced approximately 1/2" apart. I love the look of straight lines with quilt-as-you-go log cabins because you can make the lines spiral in the direction of the logs. You'll see what I mean as we continue.
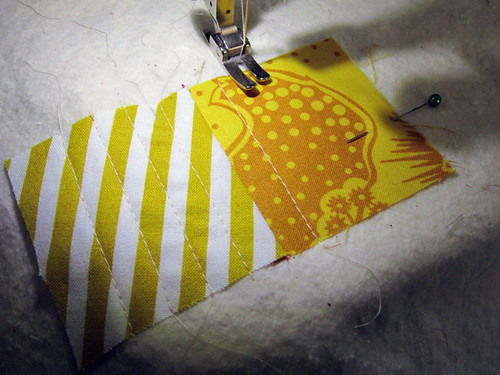
You may want to use pins to hold the fabric in place as you quilt. Or, steady it with your hands to avoid shifting.
Cut (2) 2.5" x 4.5" pieces for your next 2 logs. Place one piece on top of the squares, right sides together, matching raw edges. This log should completely cover the squares. Attach the log with a 1/4" seam, as usual and press open.
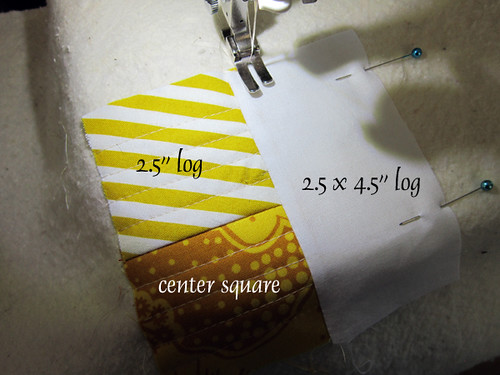
Quilt this new log as desired. I always chose to quilt straight lines along the length of the log. For this look, start quilting at about a 1/2" from the just-created seamline and continue quilting outwards until you get close to the raw edge. No need to quilt right to the edge of the log, since a future seamline will cover the edge by a 1/4". As you quilt, alternate the direction of travel to avoid dragging the log off center with the pull of the quilting.
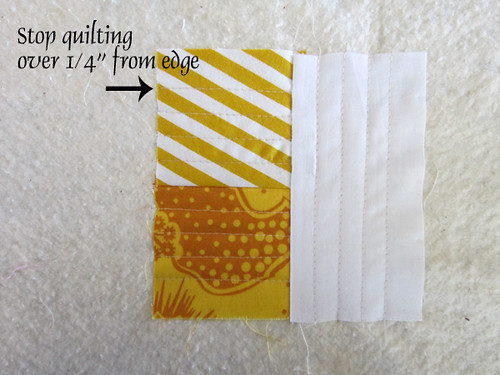
Add the next log (2.5" x 4.5") in the same way. Each new log is added on perpendicular to the previous log, in a way that spirals continuously around the center square. Always fingerpress thoroughly or press with an iron before quilting, so that you are sure the log is all the way open.
To check the accuracy of your work, you can use a clear ruler to measure from the seamline to the raw edge of an outer log. Because we are working with 2" finished logs, the outer logs (which have one sewn edge and one raw edge) should be 2 1/4" wide.
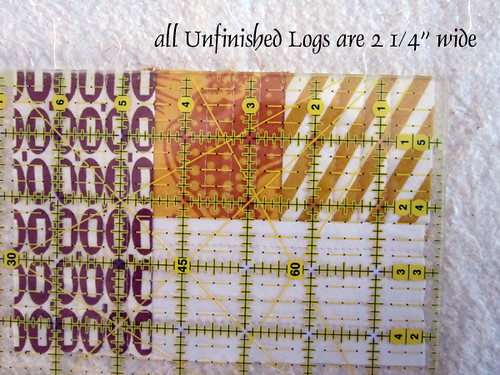
Cut (2) 2.5" x 6.5" logs. These are the next two you'll add to the log cabin, continuing in a spiral around center.
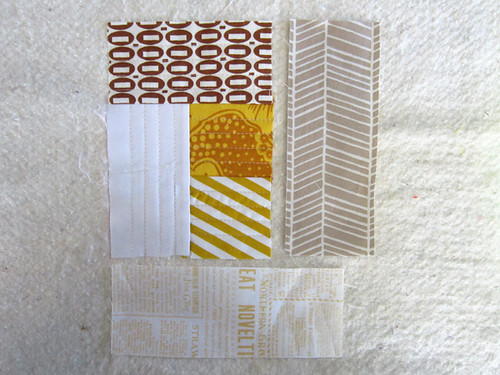
With quilt-as-you-go you cannot square up your work as you are sewing, since you don't want to cut off the batting foundation. Be careful to cut your logs accurately to help keep things square. Even with careful sewing, things can get a little off. Before adding a new log, you can use a clear quilting ruler and a regular pencil to measure and mark a line that is 2 1/4" from the previous seam line. Use this pencil line as a guide for placing the raw edge of the next log.
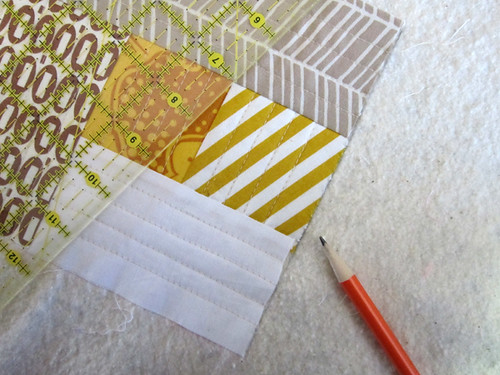
Don't forget to quilt each log before adding another!
After adding your pair of 6.5" logs, you'll need (2) 2.5" x 8.5" logs. The log pairs keep increasing by 2". So, next is (2) 2.5" x 10.5", then (2) 2.5" x 12.5", and ending with (1) 2.5" x 14.5".
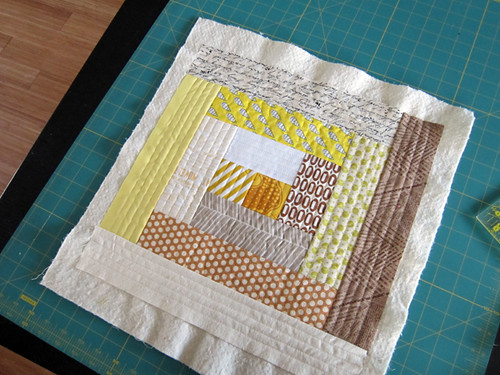
Now that your block is complete, it's time to square it up and cut off the excess batting. Begin by trimming one edge of the block so that the outer log is exactly 2 1/4" wide when measured from the previous seamline. I trimmed along that medium brown text log.
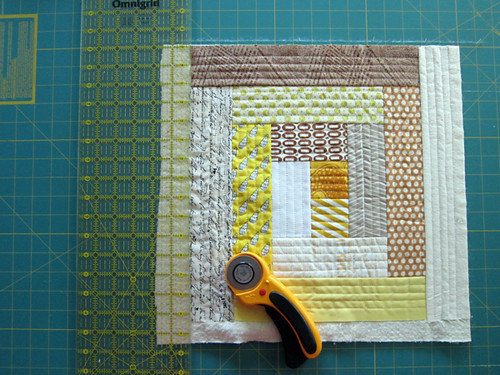
Then, align the trimmed edge with a vertical line on your cutting mat. Trim the next edge of the block, which should be perpendicular to the first trimmed edge. Use a horizontal line on your cutting mat to make a perpendicular cut, also measuring so that the cut is at 2 1/4" from the last seam line.
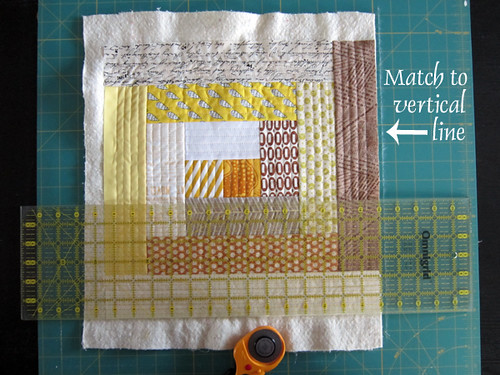
It's really helpful if your cutting mat is near the corner of your work table, so that you can walk around the table to cut from a different vantage point. It's always more accurate to avoid moving your block while squaring up!
With both cuts flush with lines on your cutting mat, measure and cut the remaining 2 sides so that the block is 14.5"square. Once assembled with other blocks, each block will finish at 14"!
With the Love circle, I'll have 20 of these blocks to assemble in a 4 x 5 layout. That will yield a modest throw quilt measuring 56" x 70". Just right for a few children or a single adult!
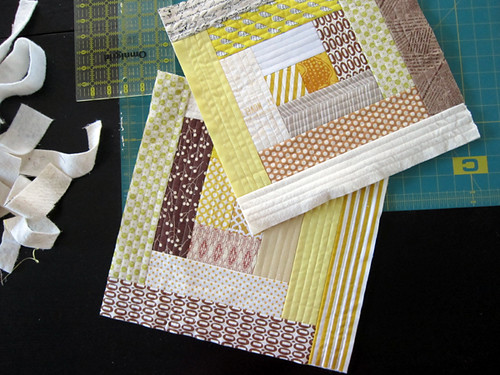
Let me know if you have any questions. Enjoy this classic quilt block!
p.s. For tips on how to finish quilt-as-you-go blocks, see this post.


